How to Sync Roku Remote Without Pairing Button – This article provides step-by-step instructions on how to sync your Roku remote without using the pairing button. Learn how to easily pair your remote to your Roku device for improved functionality and convenience.
Roku is a popular streaming device that allows you to access thousands of channels and content. But what if your Roku remote stops working and you can’t find the pairing button? Don’t worry, there are alternative methods to sync your remote without having to use the pairing button.
In this article, we will guide you through the steps on how to sync your Roku remote without the pairing button, ensuring that you can enjoy your favorite shows and movies without any interruptions.
Read Also: How to Find Apple Watch
How Can You Link Your Device to a Roku Remote?
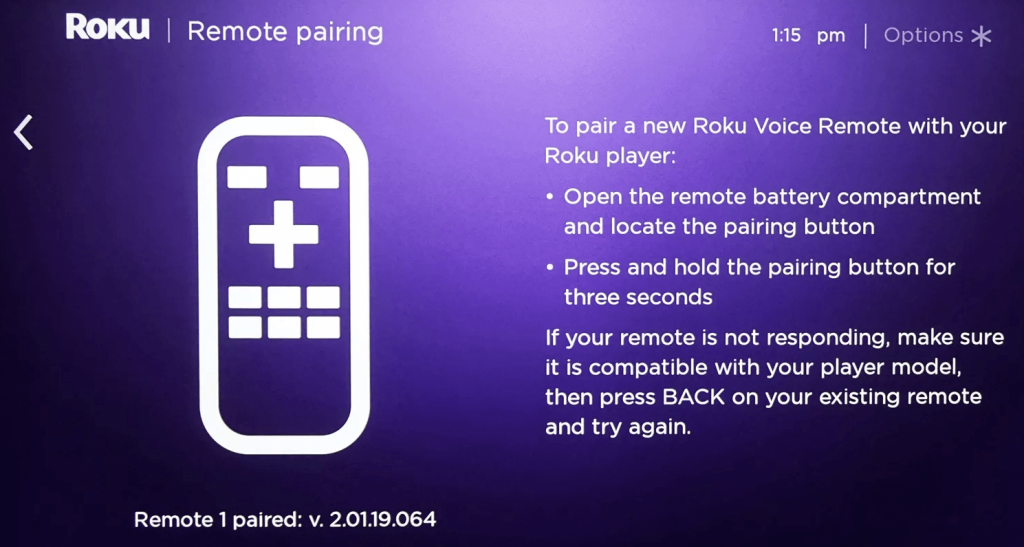
Press the pairing button on your Roku remote (icon of a circle with two intersecting lines) to pair the device and remote, allowing remote control. If not already linked, press the button to pair Roku device and TV. Hold the button until the top light on the remote appears to sync the devices.sync Roku Remote Without Pairing Button
Sync Roku Remote With “Pair Remote” Option
For this method to work, your TV must have physical buttons for navigating the Settings menu. To pair your Roku remote:
Step 1: Go to the Home screen on your Roku
Step 2: In Settings, select Remotes from the left panel.
Step 3: Choose Pair Remote from the menu.
Step 4: The device will instantly sync when you select Pair Remote. If the remote doesn’t pair automatically, reset the Roku or troubleshoot the remote.

Read Also: How to Delete Onlyfans Account
Syncing Roku Remote Without Pairing Button
Sync the Remote Using a Smartphone
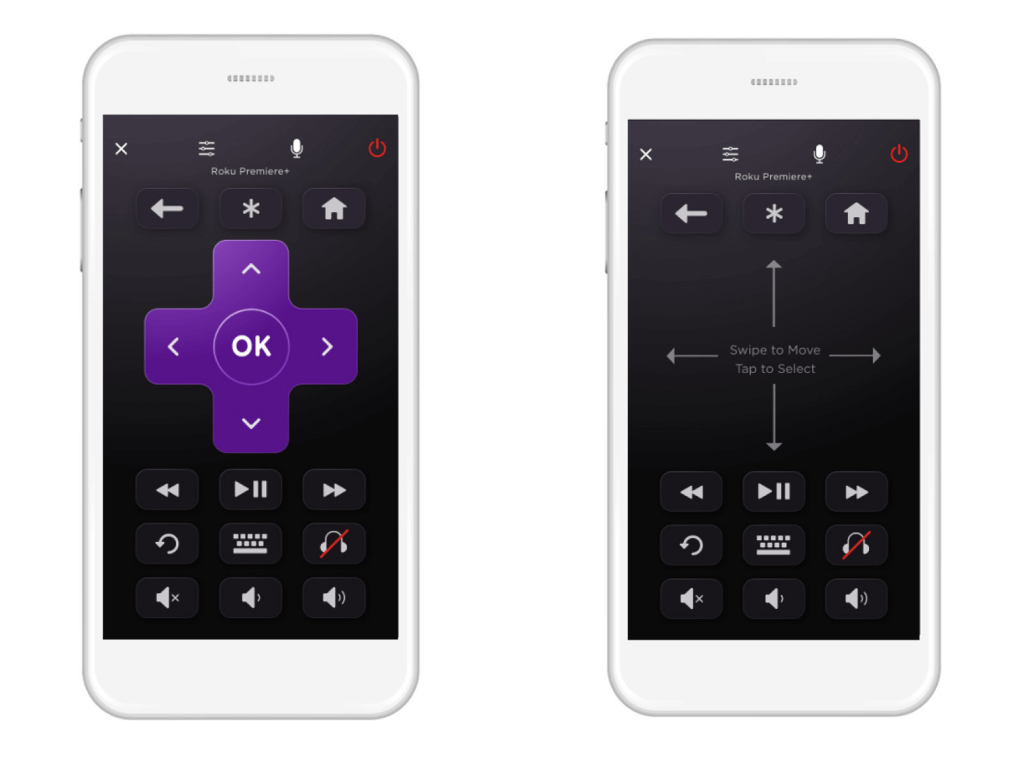
If the pairing button is not visible, use the official Roku app to control your Roku from any device (Android/iOS smartphones).

To sync the remote using the app:
Step 1: Download the Roku app (free) from Apple App Store/Google Play Store.
Step 2: Connect your smartphone to the same Wi-Fi network as your Roku device.
Step 3: Open the app and log in with your Roku credentials.
Step 4: Select your Roku device from the list of available devices.
Step 5: Tap on the Remote option on the app’s home screen.
Step 6: Follow the on-screen instructions to sync your smartphone and Roku remote.
Step 7: Once the sync is complete, you can use your smartphone as a remote control for your Roku device.
Note: You can use the Roku app to control your Roku device, even if you have lost your physical remote or if it’s not working. The app provides a virtual remote that you can use to navigate and control your Roku device.
Read Also: How to Buy Evergrow Coin
Use A Standard IR Remote Control
Lack of a pairing toggle on your Roku device’s remote control indicates it is an IR (Infrared) remote, which operates without the need for a toggle. The IR remote is compatible with some Roku products, such as Roku TVs that use an infrared sensor for control. Here are the steps to set up and use your IR remote:
- Connect your Roku device to your TV.
- Once connected, select the appropriate TV input source for your Roku player on your TV.
- Open the battery compartment of the IR remote and insert the batteries as directed.
- Point the remote directly at your Roku device, and press any button.
- Wait a short while for the synchronization procedure to complete. This usually takes a few seconds.
- Once the sync is complete, your IR remote is now operational and ready to use.
Note: If you have an enhanced remote, the setup process is similar, except you will also need to press the pairing button located in the battery compartment.
With these simple steps, you can easily use your IR remote with your Roku device for a seamless viewing experience.
Read Also: How to Evolve Magneton
Share This Post:


